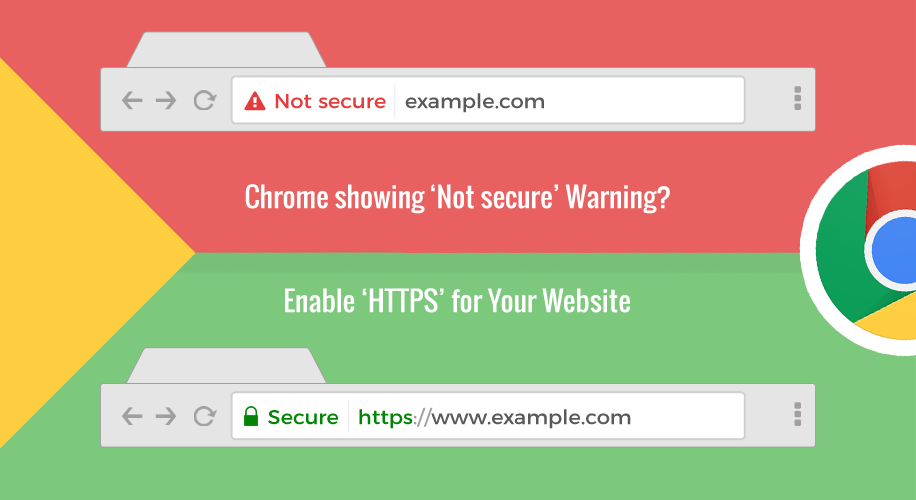
In previous article, we have informed you the important of SSL certificate. Now, in this article, we will describe how to get HTTPS and SSL to your site. Internet technology moves rapidly and as the website owner, you must follow this change. Whether you like it or not, you must follow the change. If you stay with an old HTTP site, your site will soon be labelled by most browsers as being an insecure website. In other words, this will indicate that your site is not trustworthy, which won’t go down at all well with your site’s visitors. Very soon, Chrome browser will label all HTTP sites with a prominent ‘Not Secure‘ warning.

What do you need to do to get HTTPS and SSL on your site?
Changing your website or blog from HTTP to HTTPs is relatively simple.
You can do a search on Google for this information, and you will get hundreds of advice articles such as this one to guide you through the process.
Basically, you can most probably obtain a free SSL certificate from your website or blog hosting service, and then apply it to your site.
Let’s Encrypt is one of the most popular SSL certificates, and it satisfies all the necessities. Easy. It is also free. You can find hosting provider like us that support Let’s Encrypt. If you host your site with us, you just need to point your domain to our name server, and you can easily install Let’s Encrypt via our control panel with only few clicks.
You will see a padlock icon in front of your URL, and in most browsers, there will be a green, secure label telling visitors that your site is safe to visit.
Problem Installing Let’s Encrypt?
Changing from HTTP to HTTPS and SSL changes your site’s URL, and because of this, your HTTP URL will no longer work.
So all the internal and external links to your site will be as dead as a dodo.
This is very bad news because all the work you have done in promoting and linking your website or blog will now lead to a page not found 404 error.
What is the Solution?
You can use URL redirection on your code so all the pages or your post on http address will automatically redirect to your new https website.
Now every page will link immediately to the corresponding page of your new site.
If you don’t know or are not sure how to use URL redirection on your code, you can ask your IT developer to check it for you.
Once this change is made, all the old links leading to your site will find the new HTTPS address.
However, it is good practice to update your website address on your social media profiles, even if just to show people that you have a secure website.
If you use Google Analytics, you will need to go to Admin > Property Settings and change your site to HTTPS.
No other action is needed, and all your analytics data will be retained from your old address.
For Google Webmaster Tools (or Search Console as it is now called) you can’t update your old site. You will need to create a new property and wait for Google to crawl your new site. It can take about two weeks, so be patient.
